Fabric Covered Letter

As I sit in Rae’s room rocking her to sleep (which btw, has become my favorite thing to do), I have plenty of time to look around and come up with ideas to make.  I have a list so stay tuned.  I inventory the materials I have and create ideas.  This is the latest.

This is budget friendly (free to me) and only takes a few materials.

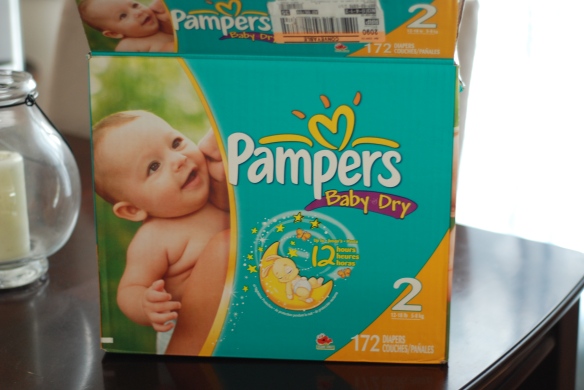
Materials: cardboard (I used a diaper box), scrap fabric, glue gun, pencil, scissors (use separate scissors for fabric and other things).

I have access to plenty of diaper boxes, so I grabbed one before I threw it out and cut out the side.

DSC_2668


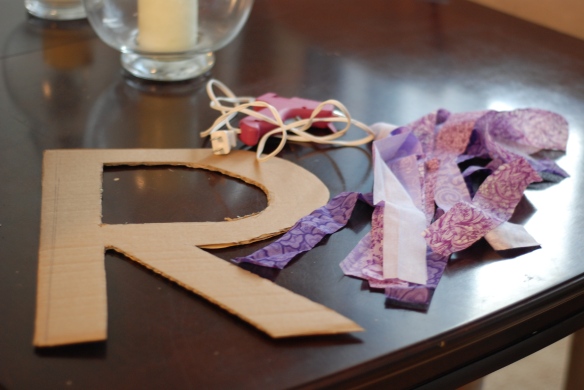
Next I drew out my letter, an “R” for Rae of course.  I had to draw and erase to make it look like I wanted it, and it still isn’t perfect, but it’s a good thing I like a “homemade” look.

Cut out your letter.

DSC_2669


And you can also see my fabric scraps.  I used different purples, and cut them in about 1 inch wide strips.  You’re going to be wrapping the fabric so size really doesn’t matter here,

Use a dot of your glue to secure a starting point and begin wrapping, gluing the end of the strip.  Continue this wrapping process, cutting fabric to fit as needed.  I tried to only glue on the back of the letter.

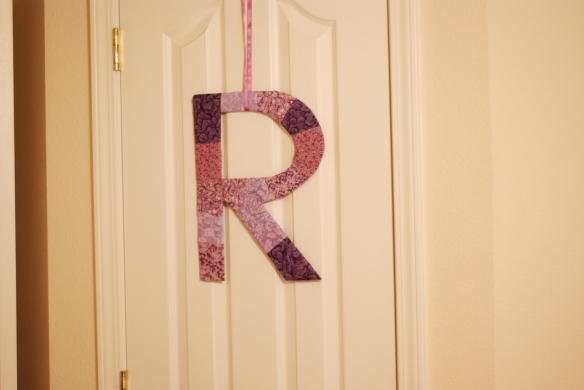
You’ll end up with something that looks like this.
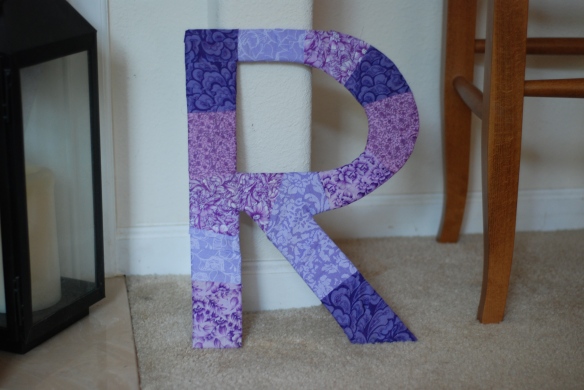
DSC_2670I used some purple ribbon and tied it to her closet door.

DSC_2671


Very simple but we like it  It adds a little more color to her room. Plus, monograms and initials are all over the place now.  Just use what you have on hand to make one, and make it your own.  You can see another use of cardboard into letter here.

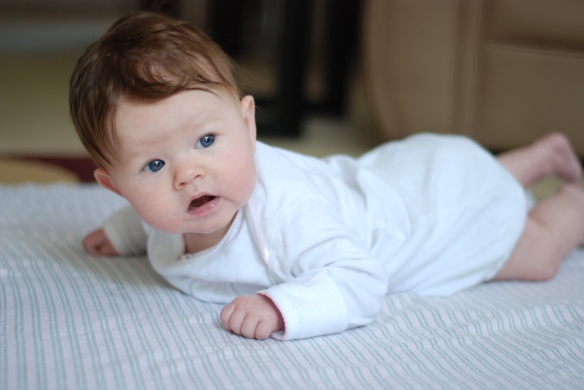
And because this is all for little Rae here she is…

DSC_2594


Stitch Fix #18

I have received 18 Stitch Fix packages…that means 90 pieces of great clothing to choose from.  You can see some of my past fixes here, here, and  here.  I love getting this each month.  I always keep something, and I was thinking today that I don’t feel that urge to shop as often because I have this to look forward to.

So just as a quick reminder, you fill out a style profile, they send you 5 items, you pay a $20.00 styling fee (which goes towards a purchase), keep what you want, send back what you don’t in a pre-paid bag that you drop right in the mailbox.  Easy.

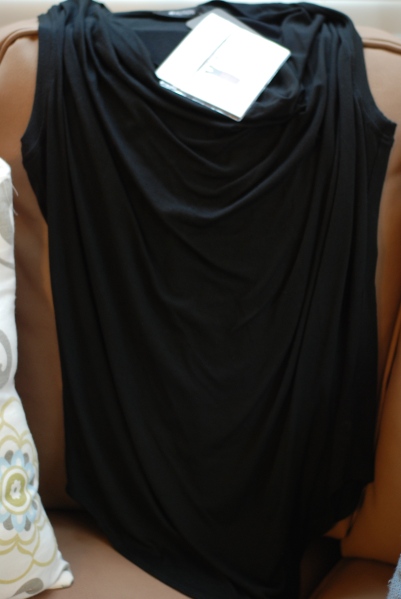
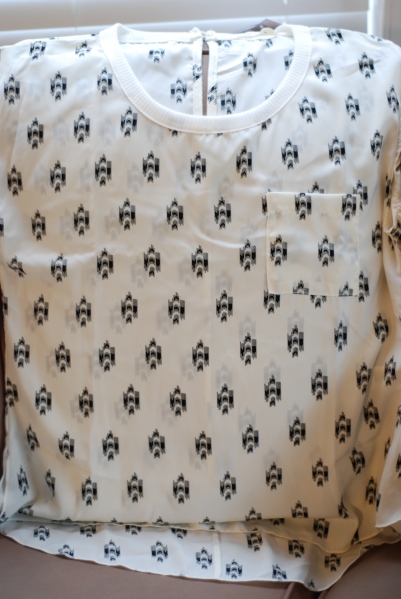
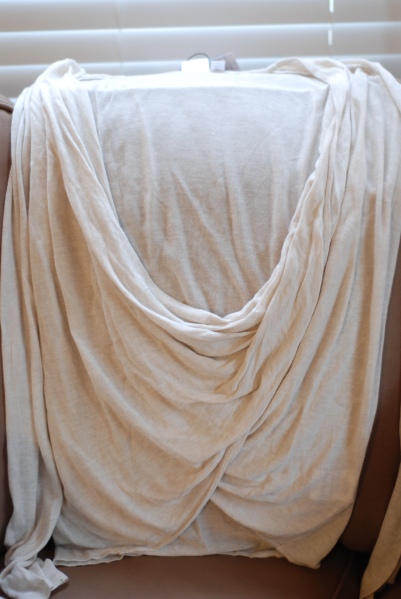
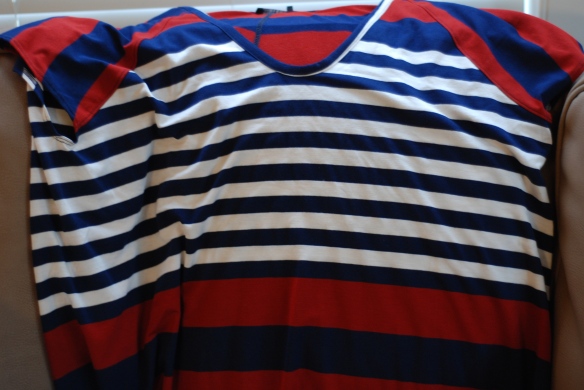
Here is my loot this month.

DSC_2572

DSC_2573

DSC_2574

DSC_2575

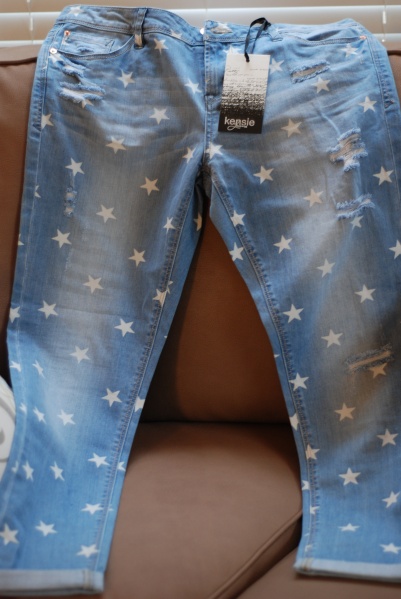
DSC_2576So I haven’t decided what I’m keeping yet, but I have ruled out the jeans.  Not that I  don’t like them, I actually do, but they don’t fit that great.  The red, white, and blue striped shirt is really cute on, and is so comfy.  The back is shorter than the front, so it’s a cute fit.  I’m leaning towards the ikat print top.

Any thoughts?

DIY High Chair Cover

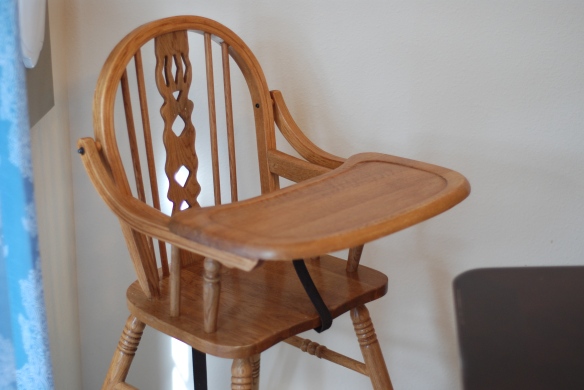
My sister passed down this great high chair for Rae to use in a few months.  It was given to her from a family member, and I love knowing Rae gets to use it too.

DSC_2277


It’s so pretty as is, but I wanted to make a little cover/seat for some added comfort for our baby girl.  I got some great fabric at the fabric store, along with a few other materials.

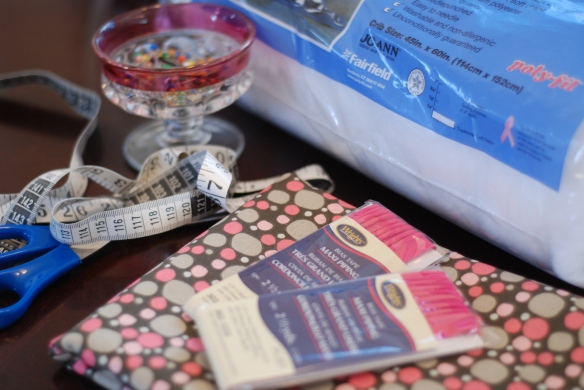
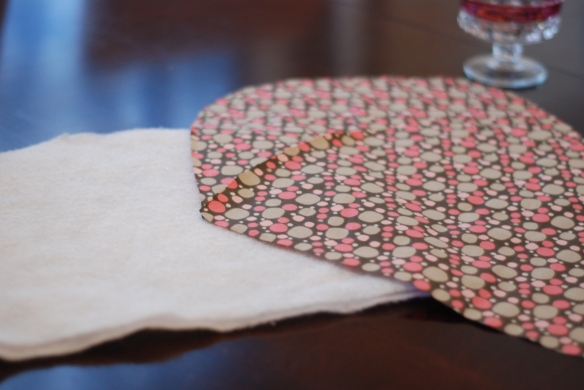
DSC_2279Here you can see the fabric, piping, batting, scissors, pins, and measuring tape.  Not pictured is some wrapping paper that I made my pattern on.

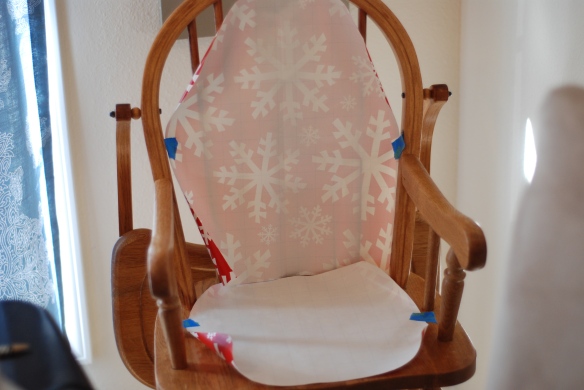
I started by just drawing and measuring the back and seat of the high chair  right onto the wrapping paper.

DSC_2280


Next, using my pattern, I cut out the fabric and the batting, allowing for a bit of a seam allowance with the fabric.  By the way, I used a pretty thin batting, I didn’t want something too plush, I thought that would look strange, but that’s just my preference.

DSC_2283


I just sewed everything together, adding the piping, (which in full disclosure, I still need to work on this skill) and came up with this…
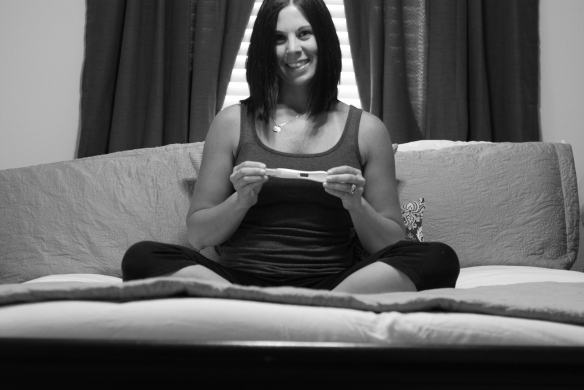
DSC_2284


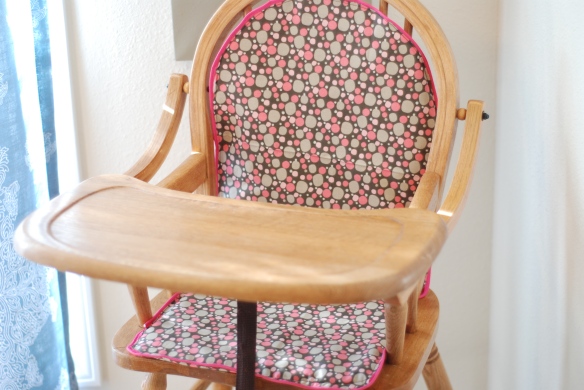
If you can’t tell, it’s actually 2 pieces.  (Also machine washable which is obviously important).

DSC_2287


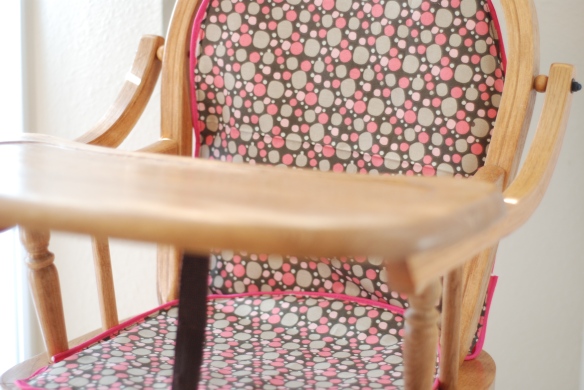
I kept the wrapping paper pattern I made in case I want to make a new one with a different pattern, or this one gets stained or ruined.  Oh, and I also added some ties, to keep it attached to the high chair.

I was happy with how this turned out, and I’m loving the fabric.  I want to make Rae a little maxi dress, and this would be a cute pattern don’t you think?  Stay tuned for that…
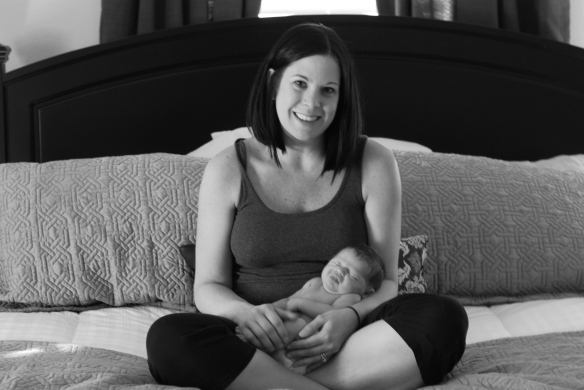
And because this is all for our little angel I’ll leave you with a little picture of her.

DSC_2440


Birchbox Man

I’ve told you about Birchbox Man before, you can see some of  Kevin’s swag here, and here. I get just as excited each month when his box comes as I do when mine comes.  Ladies, I’ve said it before, but this is a great gift to get your guy, and if you’re like me, you’ll end up using some of the products too. From Kevin’s Birchbox I’ve used chap stick,  shampoo/conditioner, face wash, shave cream, toothpaste, and I’ve benefited from the gadgets such as a cord holder (so charger cords don’t fall in the floor) speakers, beer koozies, bottle openers, and socks.

Here is what we he got this month.

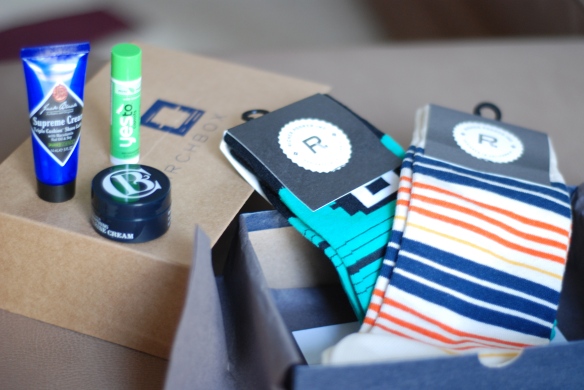
DSC_2409Clark’s Botanicals Smoothing Marine Cream, this is a face moisturizer.Jack Black Supreme Cream triple Cushion Shave Lather                                                                   Yes To Mint Lip Butter (Kevin prefers to call it chap stick)                                             Richer Poorer Socks, these are already in my drawer…

Birchbox man is a bit more expensive than my Birchbox, $20.00 compared to $10.00, but it is a bigger box with the products as well as lifestyle products such as the socks.

With Birchbox and Birchbox man coming to our house each month, we do accumulate lots of products.  We just throw them in a glass vase in our bathroom (his/hers) and you have everything in one place.  Plus, these would be great to put in a guest bathroom for your visitors to use.  We’ve been happy with our boxes, you should try it!

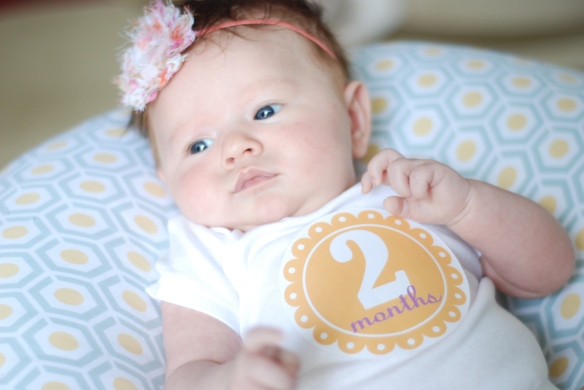
P.S. Our Baby girl turned 2 months old yesterday.

DSC_2429

Steals and Deals from Kirkland’s

You all know I love a good deal, (remember all my finds here and here?)  I mean, who doesn’t like a good deal?  We all like to find good quality, stylish, up to date products for our home without having to pay a ton of money for them.  Plus, styles and tastes change, so if you’re like me you’re always changing out pillows and accent pieces.   We all love Pottery Barn, Crate and Barrel and stores like those, and make our wish lists from the catalogs we get each month, but I’ll be honest, I never buy…too expensive for me.

You guys are gonna love this…I’m about to show you some items for your home from some of those other stores, and compare them to similar items from Kirkland’s.  This will make you visit your nearest Kirkland’s or jump online to do a little shopping.  Here we go!

Kirklands

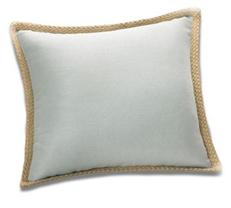
Pottery Barn – Jute Braid Pillow Cover $29.00 – $39.00

k pillow

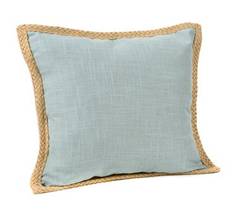
Kirkland’s – Blue Jute Linen Pillow $15.99

pb drink

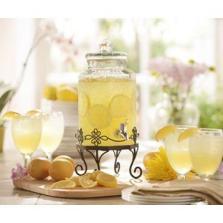
Pottery Barn – Glass Drink Dispenser $59.00 – $79.00

kirk drink

Kirkland’s Loop Beverage Dispenser $39.99

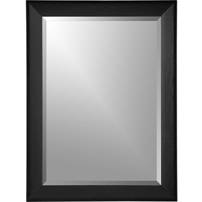
c and b mirror

Crate & Barrel – Pavilion Black Wall Mirror $249.00

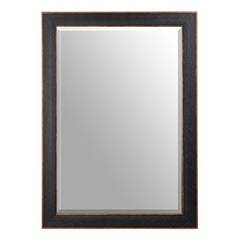
k mirror

Kirkland’s – Black Bead Mirror, 30×42 $29.99

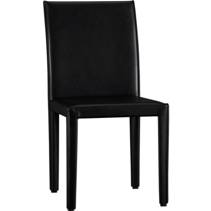
c and b chair

Crate & Barrel Folio Ebony Leather Side Chair $249.00

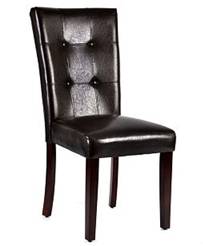
k chair

Kirkland’s – Brown Parsons Chair $63.99

c and b ottoman

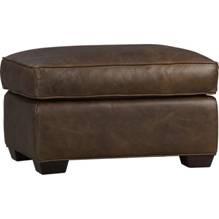
Crate & Barrel – Davis Leather Ottoman $594.15

k ottoman

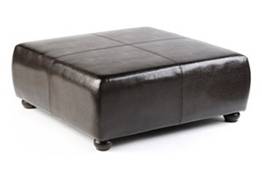
Kirkland’s – Brown Faux Leather Ottoman $199.98

pb drape

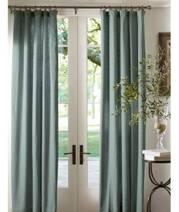
Pottery Barn – Emery Linen Drape $89.00 – $139.00

k curtain

Kirkland’s – Turin Blue Curtain Panel, Set of 2 $19.99

Pretty amazing don’t you think?  You can see from these items that it’s very possible to style a room for less.  We recently got new furniture, and we’re still shopping for items to finish up the rooms from pillows to wall art, and things for the nursery.  We’ll be shopping at Kirkland’s.  

Glitter Eggs

This post is from last Easter, but I wanted to share it again since there isn’t any time for Easter Eggs at our house this year… these were really pretty. 

I made some Easter Eggs this weekend.  I wanted a little decoration, and this was easy enough.  However, I didn’t want to mess with the dye or anything…so I used glitter!  Yes, glitter, (we all know is much easier to clean).  Oh, and I also didn’t want to boil the eggs (I wanted to keep them around for a while) but I had to get the egg out.  So instead I blew the inside out.  If is sounds weird, it was.  I didn’t let Kevin watch me do this.  All you do is poke a hole in both ends of the egg with a needle.  You kinda have to move the needle around a bit to make the hole big enough for the egg to come out.  Then, you just blow the egg out.  Obviously there are no pictures of this process…you’re welcome.  The first few were time-consuming, but then you find your rhythm.

And wash them out.

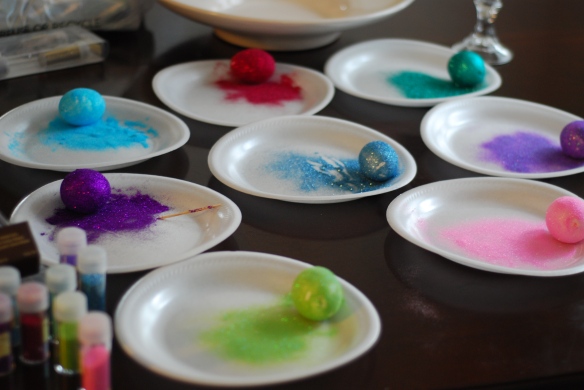
Next, I got my glitter, Spread glue on each egg, and proceeded to shake a ton of glitter onto each egg.

Let dry, and enjoy!

This was super easy, and not too messy.  I did have to wash my hand after each egg, but the glitter I used is really fine and washes off easy.  I like it as an alternative to dying eggs. I will do it again.  This is off topic, but I glittered a pumpkin once and that was fab. Are you the more traditional egg in the food coloring person or do you like the glitter?  Or do you have any other ideas?

Rae’s Arrival

DSC_2152DSC_2303DSC_2350Luckily Rae’s arrival was very calm and uneventful.  It was very planned and went so smooth.

Throughout my pregnancy sweet Rae was always measuring large.  Along with that I had a narrow pelvis, which could be a problem with a large baby.  We knew a c-section  was a probable option.  Monday before Rae was born, my doctor determined that was the plan.  We were okay with that, but were a little nervous/excited…okay, freaked out, when he said “Let’s do it Thursday.”  We left knowing in a matter of days we’d be holding our baby girl.

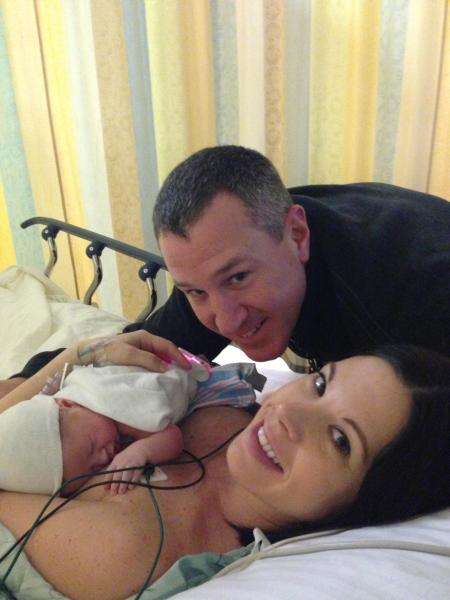
Tuesday was my last day of work. Wednesday I spent relaxing at home, packing, cleaning, and getting ready for a date with Kevin.  I did not sleep Wednesday night.  We had to be at the hospital at 4:50 Thursday morning.  We were both full of emotion, but mostly excited.  I wasn’t too nervous yet.  We got checked in and they began to prep me for surgery. I had the best nurses, and they really took my mind off of being nervous.  Once prepped we walked back to recovery where Kevin waited while I had my spinal block.  I was nervous now.  I was shaking and could have cried (hormones?) but I kept it together.  Once the spinal was complete they put my dead legs (crazy feeling by the way) on the table, got me all ready and Kevin joined me.  I didn’t feel a thing.  It was a crazy feeling when they said, “okay, we’re getting ready to take her out.”  And then we heard “look at all that hair!”  We couldn’t see her yet but felt such relief.  They finally brought her around, not to us but so the staff could do their thing, but we got to watch and she was big, pink, and beautiful…and ours.  We made her and we were instantly in love.

Kevin and Rae went to recovery to wait on me.  The 3 of us were able to be together the whole time, I did some skin on skin (my favorite) and attempted to nurse.  After a period of time Kevin was able to take Rae out to meet the family who had all been there since early that morning.  Once I got the feeling back in my legs I was able to go to my room.

The c-section went really well.  I was sore, but mostly just my incision. It really couldn’t have gone any better.  And I can’t believe that was 6 weeks ago.

photoThere’s a lot more to talk about so stay tuned!

She’s Here…

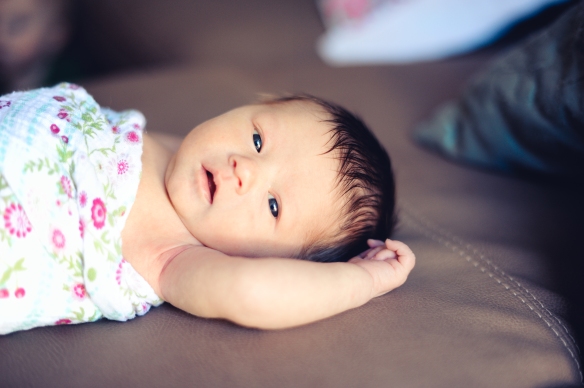
February 24, 2013-7807Miriam Rae Hill was born February 14th, weighing 7 lbs 14 oz and she was 20.5 inches long.  She is perfect and we are in love.

So, obviously she’s been here for a little while, and I apologize for not blogging, but Rae and I have been enjoying each other.  She is a sweet baby with a lot of hair and she looks just like her Daddy.

I have much more to share, her birth story, (which was uneventful thank goodness), my thoughts on being a new mommy, sleep, what we eat as new parents, and of course lots of things I’ve made for her.  I also have a ton of pictures to share…

Happy Anniversary

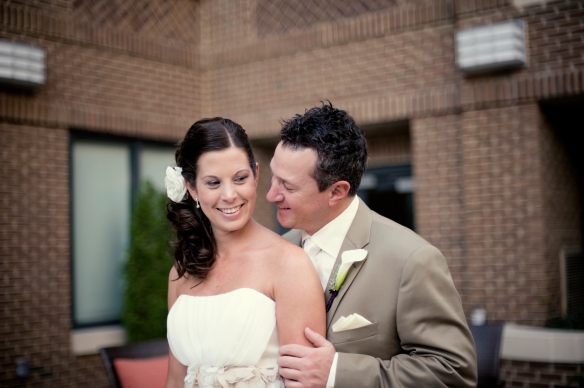
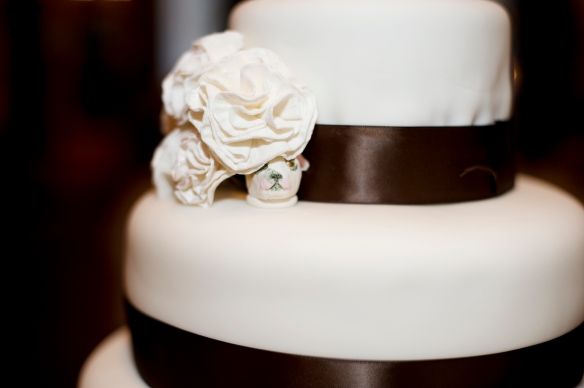
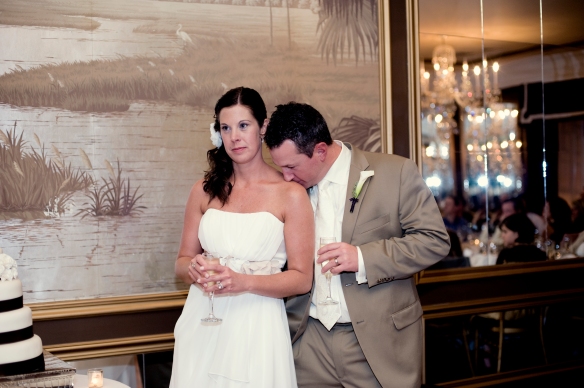
Today is our two-year anniversary.  Two years ago we had the most perfect day on Tybee Island, and a great night in Savannah celebrating with everyone we love.

Kevin, Happy Anniversary love.  You continue to make me happy and feel like the most important thing in the world.  I’m a lucky girl…

It was a perfect day.  Thank you to Vanessa for capturing the beautiful pictures.

Stuffed Animal Owl

Since I’m having a baby I admit I have some baby DIY projects on my mind.  I wanted to make a stuffed animal, so decided to make one for little Gray, Vanessa’s adorable son. This was really simple, and I will probably be making some for our little girl, as well as the many kids in our family.

First I just cut out an owl on construction paper. I folded it in half to make sure it was symmetrical.

And then traced it onto fabric.

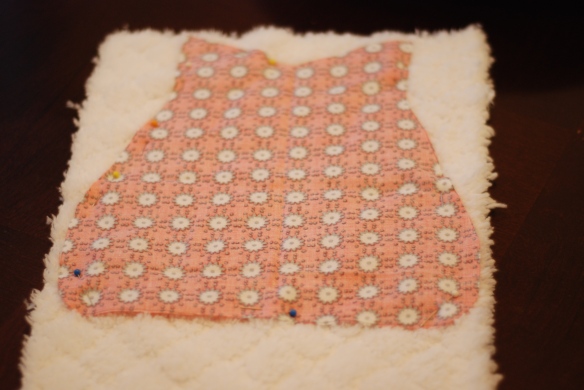
I then pinned the owl onto some softer minky fabric.

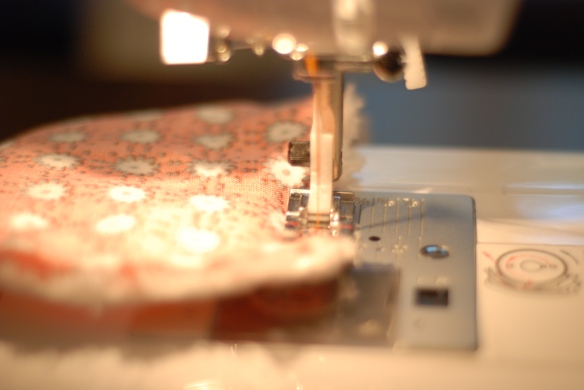
This will be the back of the owl.  Once everything was cut out I just sewed right sides together, leaving an opening for the batting.

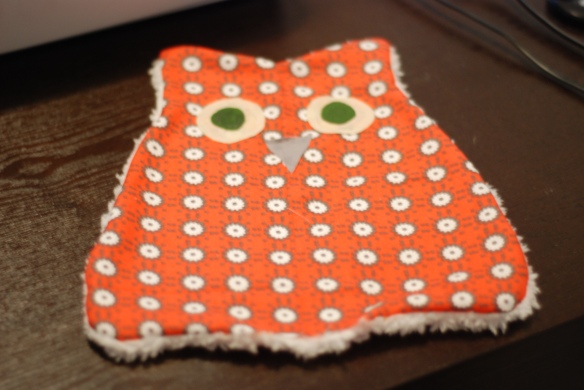
Now. this is what I’ll do different next time.  I had originally thought I would just have the owl, without a lot of details, but once I was finished with this step I decided it did need a little more detail.  Next time I will sew this onto the patterned fabric before sewing the two pieces together.  This time I just used my liquid stitch.

I just cut out some eyes and a beak.

And glued them right on.  I let them dry overnight.

Then I decided I needed some wings.

Once everything was dry, I just stuffed it and sewed the opening.

My favorite part is the different textures.  Especially for a little baby.  And there are so many animals you could make.  This was really easy, stay tuned for more I’m sure…